跳到内容
跳到内容 
Have you ever entering a bathroom to find it beautifully LED light mirrors that made you look your best? That is the beauty of lights mirrors. They combine functionality and style, turning ordinary spaces into something extraordinary.
Whether it be tired of struggling with poor lighting during morning routine or looking to add modern elegance. Ceating your own mirror with led light may be easier than you think!

As someone with years of experience manufacturing and installing LED mirrors. I have guided both sanitary ware brand and interior designers alike through the process of producing beautiful yet functional lighting solutions.
I will share my expertise on how you can build your own LED mirrors from scratch. Even if you’re starting from scratch. Creating DIY projects allows you to meet all of your specifications. Such as: size, light intensity, color temperature, design elements. All tailored specifically to you and your space.
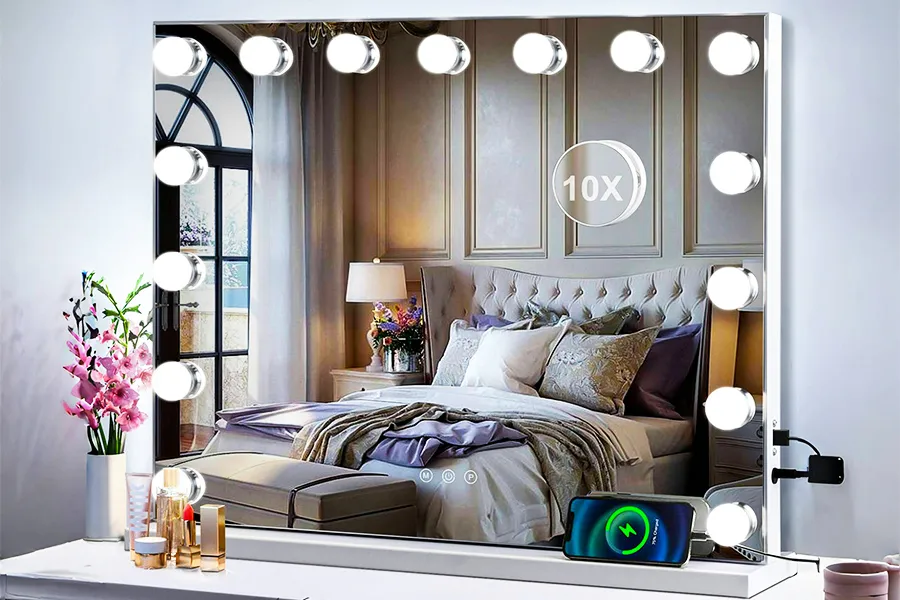
Types of LED Light mirrors
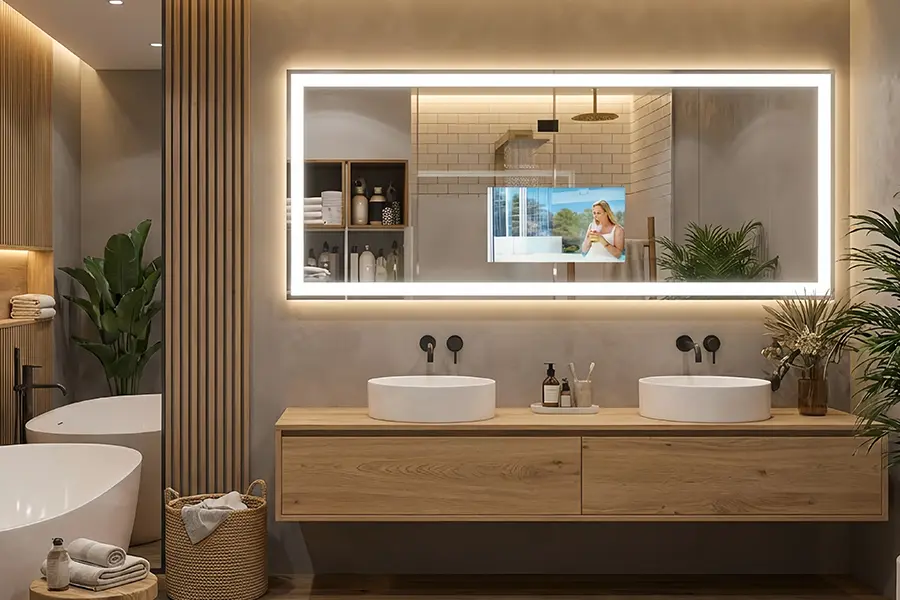
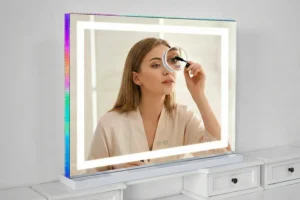
Front Light Mirror: LED strips are installed on the front surface of mirror. Usually around the perimeter of the mirror. Providing uniform illumination and suitable for makeup and grooming.
Backlit mirror: light strips are installed on the back of mirror. Generate a glowing halo effect at the edge. Soft and atmospheric lighting adds a sense of three dimensionality to your space.
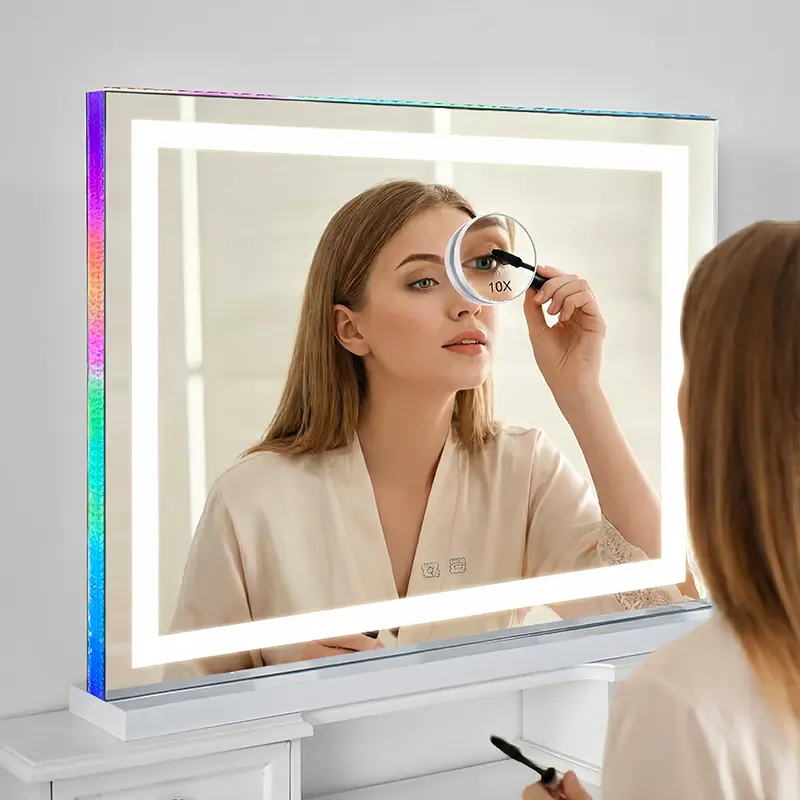
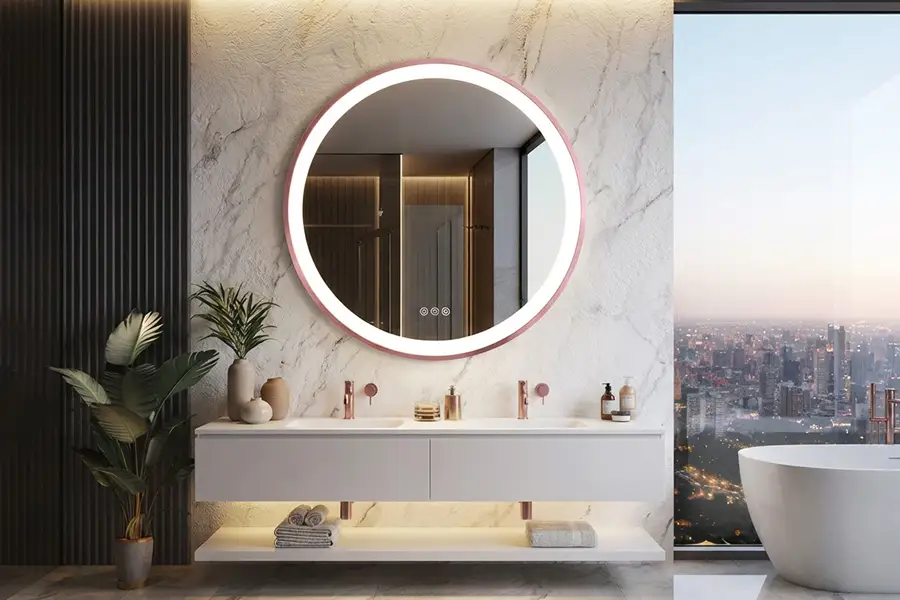
Edge-Lit Mirrors: LED lights are embedded at the edges of the mirror itself. Using diffusion technology to evenly distribute light onto its surface, creating a charming modern aesthetic.
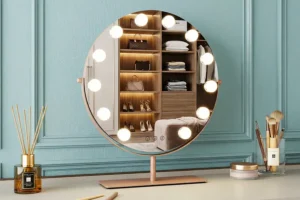
Smart LED mirrors: These mirrors are paired with modern technology. Such as touch sensors, anti fog systems, Bluetooth speakers, and voice control functions. Smart TV can also be customized according to needs. Check about customzied mirrors function.

Advantages of Mirrors with Led Lights
Energy saving:
LED lights use 80% less electricity than traditional incandescent lights. They are not only environmentally friendly but also cost-effective. Data cited in “LED Lighting Article“
Long lifespan:
High quality lights strip have a lifespan of up to 50000h. If calculated based on 8 hours of daily use, the lifespan exceeds 17 years.
CRV>90:
LED lights provide more accurate color rendering (measured by CRI or color rendering index). Allowing you to experience authentic colors is crucial for makeup and dressing.
Uniform lighting:
LED mirrors can provide uniform lighting, with light evenly distributed on the face. Eliminate glaring shadows that may distort the appearance.
Essential Materials and Tools for DIY LED Mirror Projects
Constructing custom led full length or vanity mirrors takes specific materials and tools. Below is my experience working with custom installations:
Core Materials
Mirror:
Choose a high-quality mirror that fits your desired size and shape. Beginners can start with pre cut mirrors. Purchase from a glass store or home decor store. Purchase a copper free silver back mirror.
LED Strips:
- SMD 5050 or 2835 LED strips (12V or 24V).
- For bathroom use waterproof rating of at least IP65.
- Choose 3 adjustable colors, from 3000k-6000k.
- CRV>90 to ensure accurate colors.
Power Supply:
Keep the same voltage and wattage as the LED strip
Back Panel:
Cut 1/2″ or 3/4″ plywood or MDF board. To the size of the mirror or slightly larger. For bathroom use, moisture proof is required.
Diffusers (optional, for backlit mirrors):
- Acrylic diffuser panels
- Frosted plexiglass
- Light diffusion film
Essential Tools
Electrical Tools:
- Wire stripper/cutter
- Soldering iron and lead-free solder (for connecting LED strips)
- Heat shrink tubing for wire connections
- Multimeter for testing
Cutting and Mounting Tools:
- Circular saw or jigsaw (for cutting backing board)
- Drill and drill bits
- Screwdriver set
- Measuring tape and level
Adhesives and Fasteners:
- Mirror adhesive (specifically designed for mirror installation)
- Double-sided tape for securing LED strips
- Wood screws for frame construction
- Silicone sealant for bathroom applications
Safety Equipment
- Safety glasses
- Work gloves (cut-resistant for handling mirror)
- Circuit tester
- GFCI protected outlet for bathroom installations
A study by the National Electronics Manufacturers Association shows that incorrect electrical connections account for 32% of LED lighting failures, indicating the need for appropriate tools and techniques during wiring.
Before purchasing materials, please take the time to accurately measure your space and plan your design. Calculate the length of the LED strip you need. This can save time and avoid problems during the production process. You can refer to how to DIY LED mirror at low cost?
Step-by-Step Guide to Creating Your Own LED Mirror
Now that you understand the basic principles and have collected materials for creating your own led mirrors with lights, let’s walk through each step in creating one yourself from start to finish. My method has been refined over multiple installations so as to be accessible even for novice DIYers.
Step 1: Planning and Prep
Set mirror placement height
select LED placement options (front lit, back lit or edge lit)
Preparing well-lit space
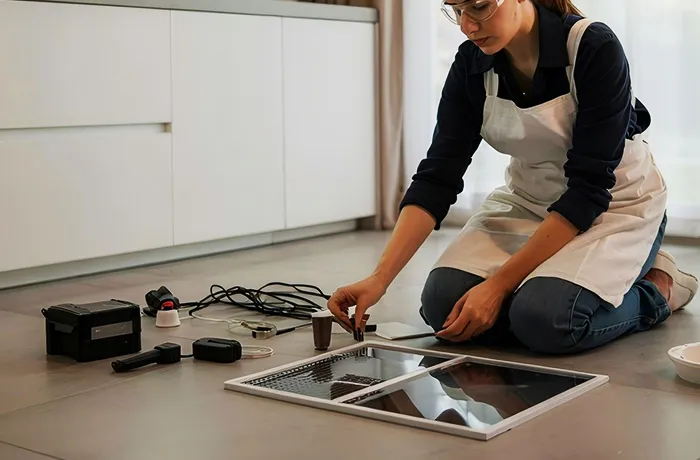
Step 2: Preparing the Backing Board
Create your backing board according to the dimensions you require (either exactly matching that of your mirror, or larger for border effects).
Measure and mark the position of each edge 2-3 inches, use a saw to cut off the middle part, leaving only the frame. Polish all edges smooth to prevent damage to the LED light strip.
Drill installation holes in advance and fix the mirror on the wall
If the backboard is exposed to humid environments, such as bathroom installations, please apply a layer of sealant or paint on the backboard.

Step 3: Installing the LED Strips
LED light strip layout:
Frontlit mirror: LED light strip surrounds the perimeter of the mirror surface
Backlit mirror: along the inner edge of the backboard frame
Side view mirror: along the edge of the mirror
Prepare the light strip:
Only measure and cut LED light strips at designated cutting points
For corners, please use connectors or solder flexible wires between light strips
When rotating 90 degrees, do not bend the LED light strip itself.
Install LED light strip:
Clean any residue on the installation surface with alcohol
Remove the backing from the adhesive on the LED light strip
Carefully press into place and operate slowly to avoid bubbles
Use additional clips to secure for long-term durability
Connection line:
Connect according to the polarity markings (+and -) on the light bar
For the connection between light strips, I suggest using welding to ensure reliability
Connect to the main power cord to ensure correct voltage matching
Step 4: Mounting the Mirror
For Frontlit mirrors: Apply mirror adhesive to the back panel, carefully place the mirror and press it evenly. During the curing period of the adhesive, temporarily fix it with tape.
Backlit mirror: Install shims around the back frame and place the mirror on the shims.

Step 5: Circuit connection and testing
Connect the power supply to the LED strip according to the manufacturer’s wiring diagram.
Thoroughly test before final installation:
Check all connections
Verify that the illumination of all light strips is uniform
Test any intelligent function or control
Step 6: Final installation
Find the wall where the mirror needs to be installed and securely mount the back panel to the wall.
Use a level to ensure that the mirror is flush to prevent uneven force and falling. Secure it to the wall stud or anchor with suitable screws
Connect the power supply: Plug the power cord into a live socket. Please ensure that the wires are neatly managed and safe.

Common Issues in Mirrors with Lights Installation
Q1: Why is the lighting uneven or has dark spots?
A: The uneven illumination of the LED mirror is caused by inconsistent spacing between the light strips or damaged LED. LED light strips should maintain uniform spacing. Replace the damaged LED light strip section.
Q2: Why do the lights flash?
A: Sometimes the power supply is unstable or the wiring is not properly connected. You can check all the places where the wires are connected. If there are loose joints, then re-weld.
Q3: Why does the lights mirror always slide down or tilt?
Maybe the glue has been stuck for too long and won’t stick anymore. When installing, if the two sides are not aligned, the mirror will be subjected to uneven force, which can easily loosen over time.
Q4: Why is there water vapor behind the LED mirror?
A: It is easy for water vapor to remain between the mirror and the back panel. If the mirror is installed in the bathroom, you can choose a smart mirror with anti-fog heating function, so you don’t have to worry about fogging.
Q5: Why is the LED light not working?
It may be due to a poorly connected cable, a faulty power supply, or a problem with the light strip itself. You can use a multimeter to test the circuit to see if the voltage is normal, and also check if the positive and negative poles are reversed.

Conclusion
Making your own LED light mirror is a very amazing project. It combines practicality with artistic expression. Here we explore the whole process of making your own DIY mirror at home.
However, mirrors with led have many uses and can be used in different scenarios such as the hotel industry, residential buildings, commercial industry, shopping malls, e-commerce, etc. How to meet the needs of customers in such scenarios?
Shein Mirror is a leading LED mirrors manufacturer and supplier in China. Contact us to customize your mirror solution!